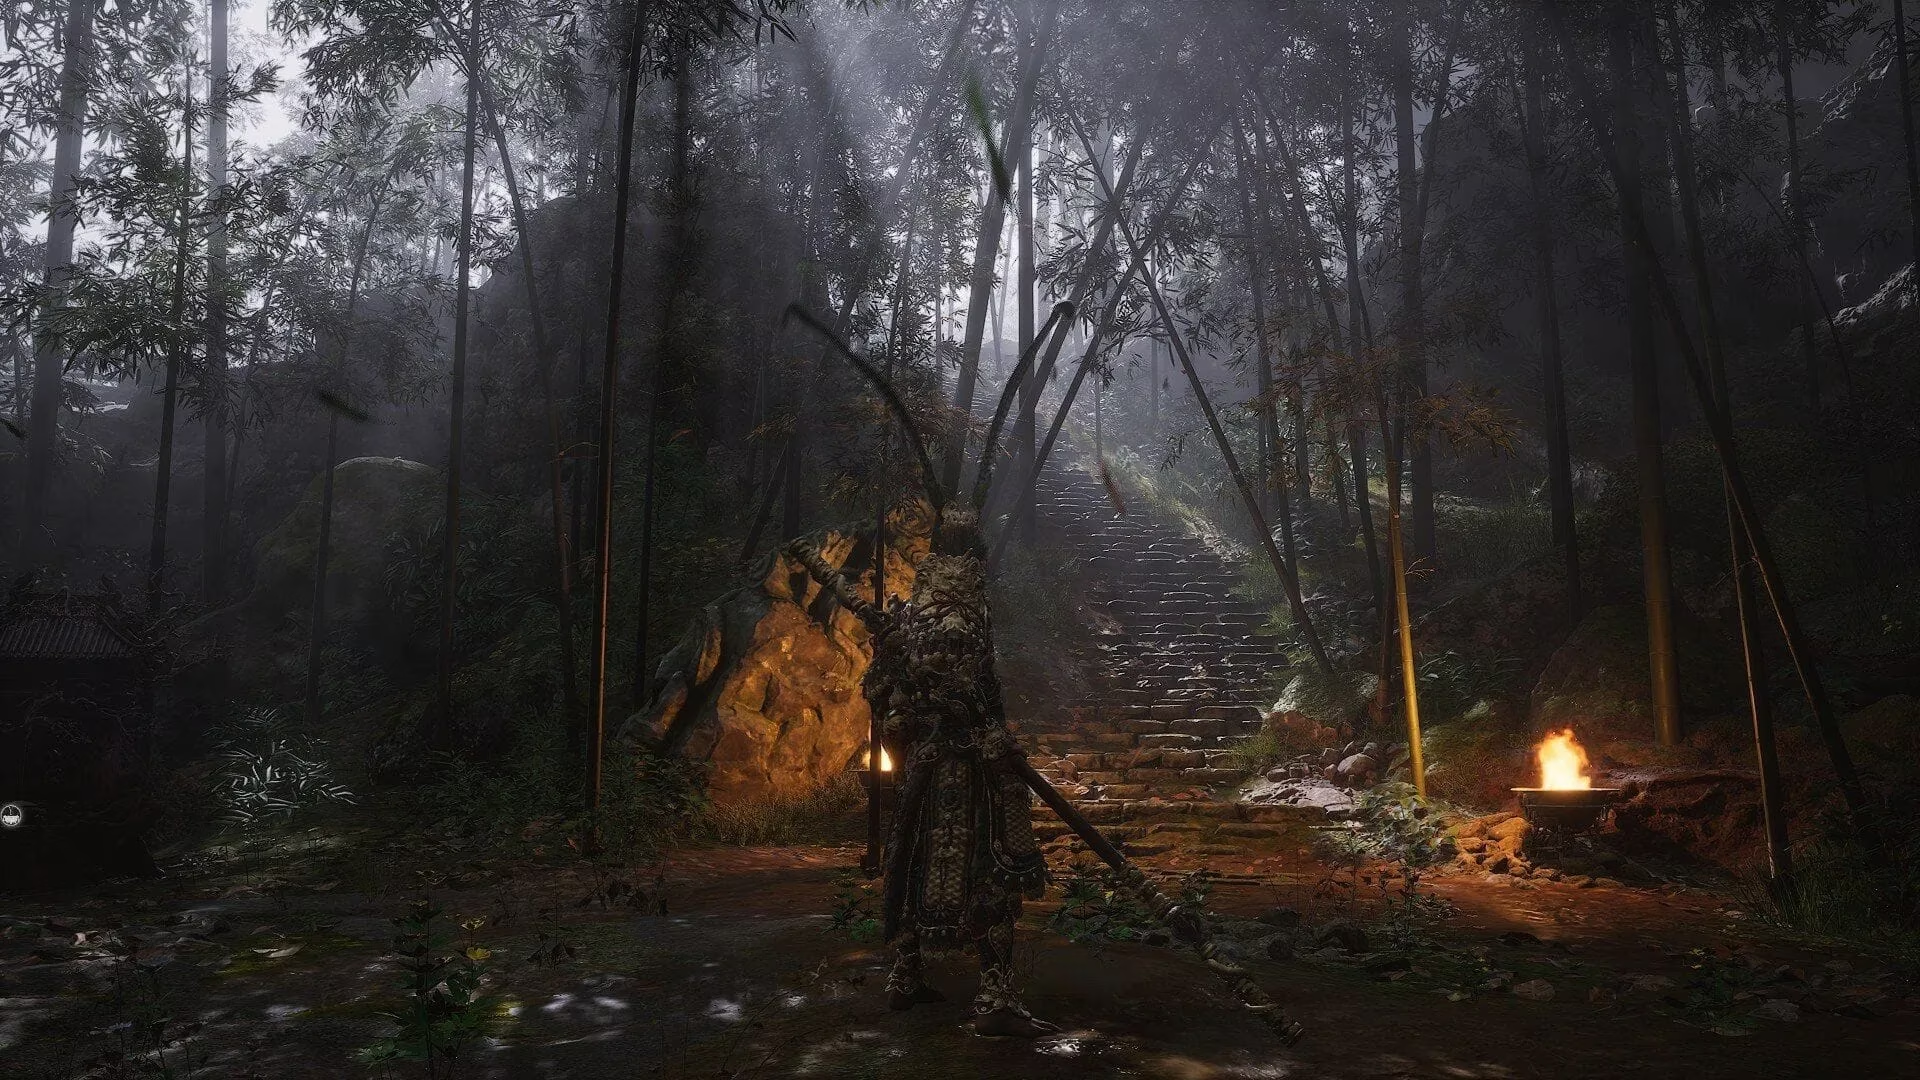
In Black Myth Wukong, the Duskveil is one of those optional bosses that players stumble upon only after a chain of easily missed steps. Hidden deep in Chapter 4's Webbed Hollow, this two-phase monstrosity has become a rite of passage for anyone claiming to have mastered the game's combat by 2026. It doesn't quite reach the madness of Erlang Shen or the Stone Monkey, but for a mid-game encounter, it punches way above its weight class. Think of fighting the Duskveil as trying to swat a fly that is also holding a sword and occasionally sets the floor on fire. The fight demands patience, positioning, and a generous helping of burn damage.
Where to Find the Duskveil
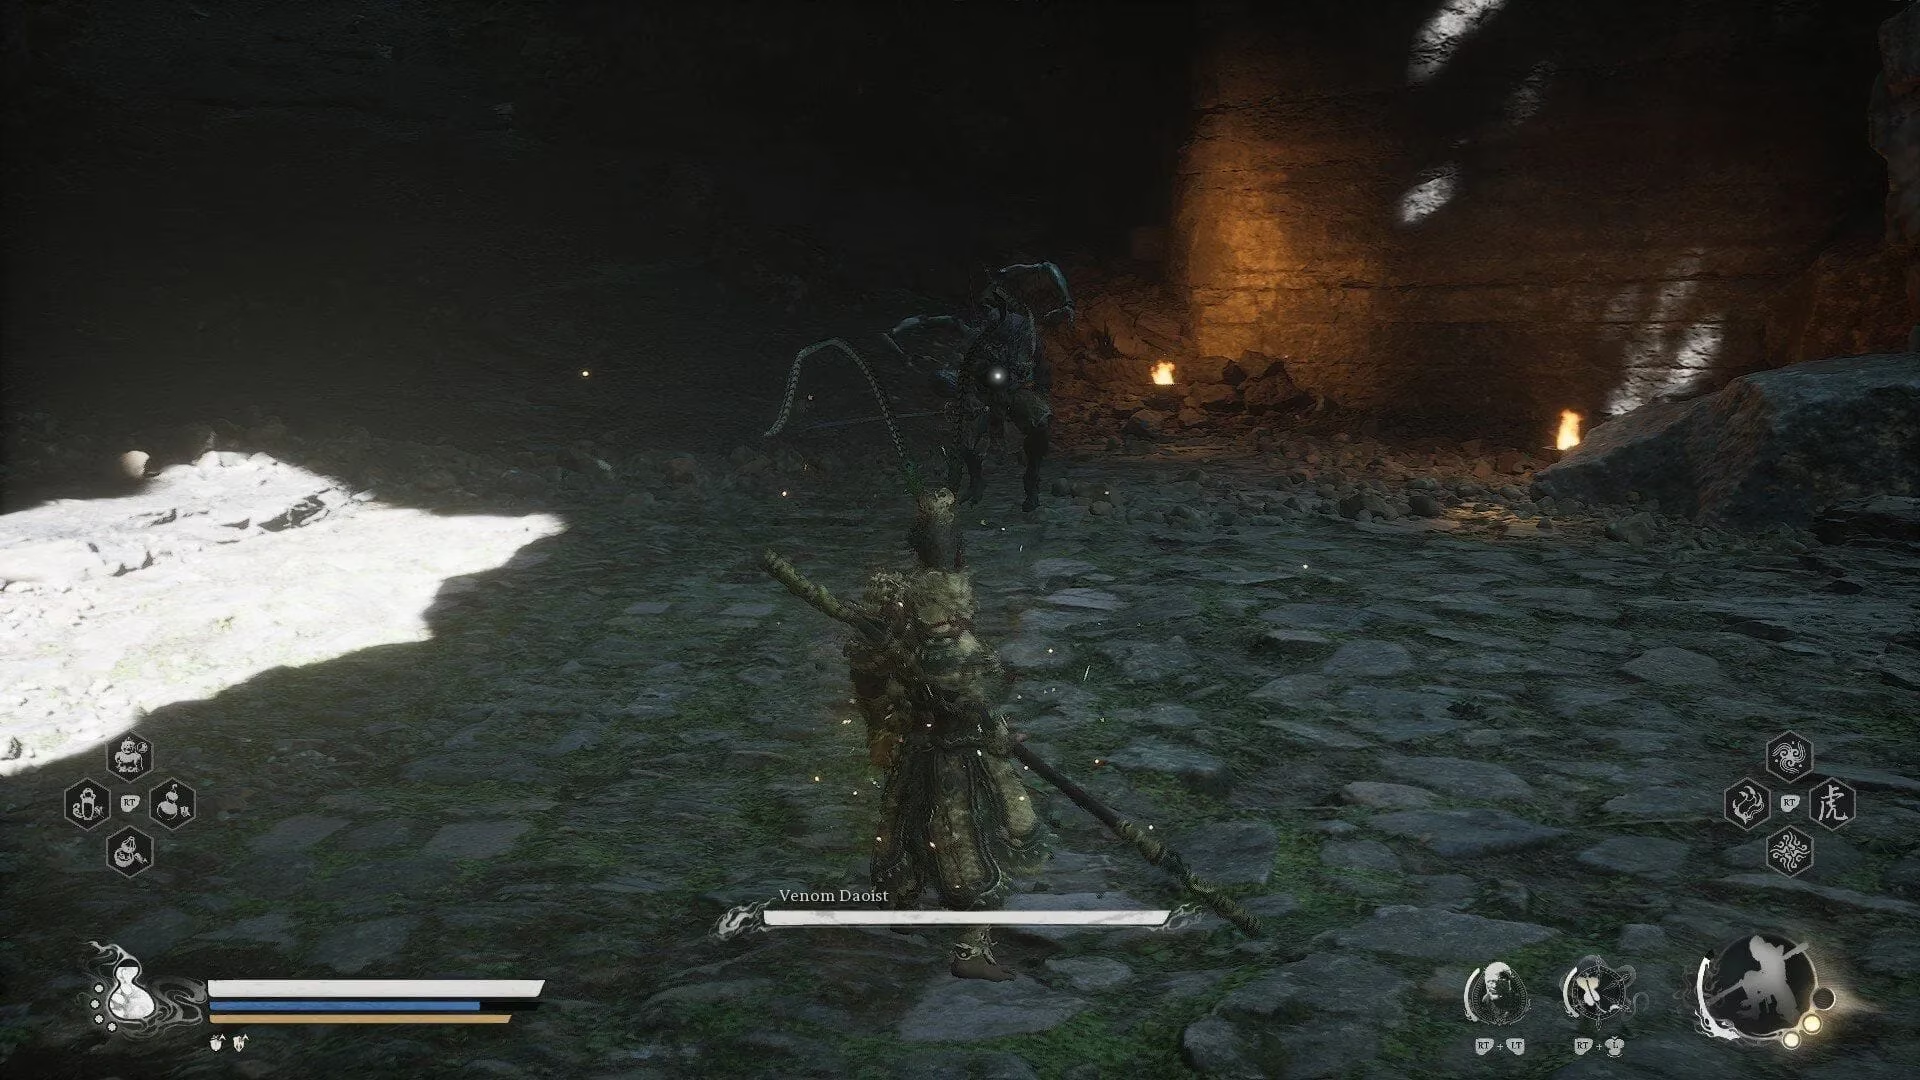
Before anyone can even attempt this fight, they need to unlock the secret area known as the Purple Cloud Mountain. This is not something a casual playthrough will reveal on its own. The key lies in completing the Venom Daoist's questline, an easily missable side objective. Players will first encounter the Venom Daoist near the Pool of Shattered Jade Keeper's Shrine. After defeating him there, he reappears later at the Temple of Yellow Flowers, close to the Court of Illumination Keeper's Shrine. Only after beating him a second time does a portal open up, granting access to the Purple Cloud Mountain.
Once inside, players will find three bosses waiting for them. The smart move is to save the Duskveil for last. Why? Because fighting the Duskveil before taking on Daoist Mi and the Scorpionlord will cause those encounters to be skipped entirely. That means losing out on their quest lines, rewards, and the satisfaction of a clean boss sweep.
Preparing for the Fight
Preparation is half the battle with the Duskveil. The recommended level is 80, though players can scrape by as long as they are above level 60. Maxing out health with Mind Cores is strongly advised, since the second phase hits like a falling temple. It is also a good idea to complete the Yellow Loong questline beforehand. Doing so grants the Golden Loong Staff, a Mythical-tier weapon that makes a noticeable difference in damage output.
For stances, the Thrust Stance is the top choice because of its ranged pokes and ability to punish the boss from a safer distance. The Pillar Stance works too, but it slows players down considerably, and speed matters a lot in this fight. The most useful spells are Rock Solid and Immobilize. Rock Solid can stagger the boss when timed right before a jumping attack, while Immobilize creates short windows for heavy damage. For transformation, Red Tides is the star of the show because it deals Burn damage, which the Duskveil is extremely weak to.
| Aspect | Recommendation |
|---|---|
| Level | 60+ minimum, 80 ideal |
| Stance | Thrust (Pillar as backup) |
| Spells | Rock Solid, Immobilize |
| Transformation | Red Tides |
| Weakness | Burn damage |
Saving mana for phase two is like hoarding firewood before a long winter—it feels wasteful in the moment, but it pays off when the storm actually hits.
Phase One: The Deceptive Warm-Up
The first phase is surprisingly manageable. The Duskveil only has about two-thirds of its total health bar here, and its moveset is limited to short-ranged slams and a few projectiles that are easy to dodge. Players should resist the urge to burn through spells and transformations. Instead, they should chip away with simple attacks, learn the timing of the boss's swings, and conserve resources for what comes next.
One useful trick is to stay close to the boss's legs. Most of its attacks cover the area directly in front of it, so the space underneath its body is deceptively safe. From there, players can land consistent hits with the Thrust Stance without taking too much risk.
Phase Two: When the Sky Falls
Once phase two begins, the Duskveil stops pretending to be fair. The boss gains a full health bar and starts mixing melee combos with aerial projectiles, ground slams, and massive area-of-effect attacks. Two attacks deserve special attention. The first is a three-hit ground slam combo that can quickly flatten an unprepared player. The second is a ground swipe combo that ends with a huge AoE slam covering a wide radius.
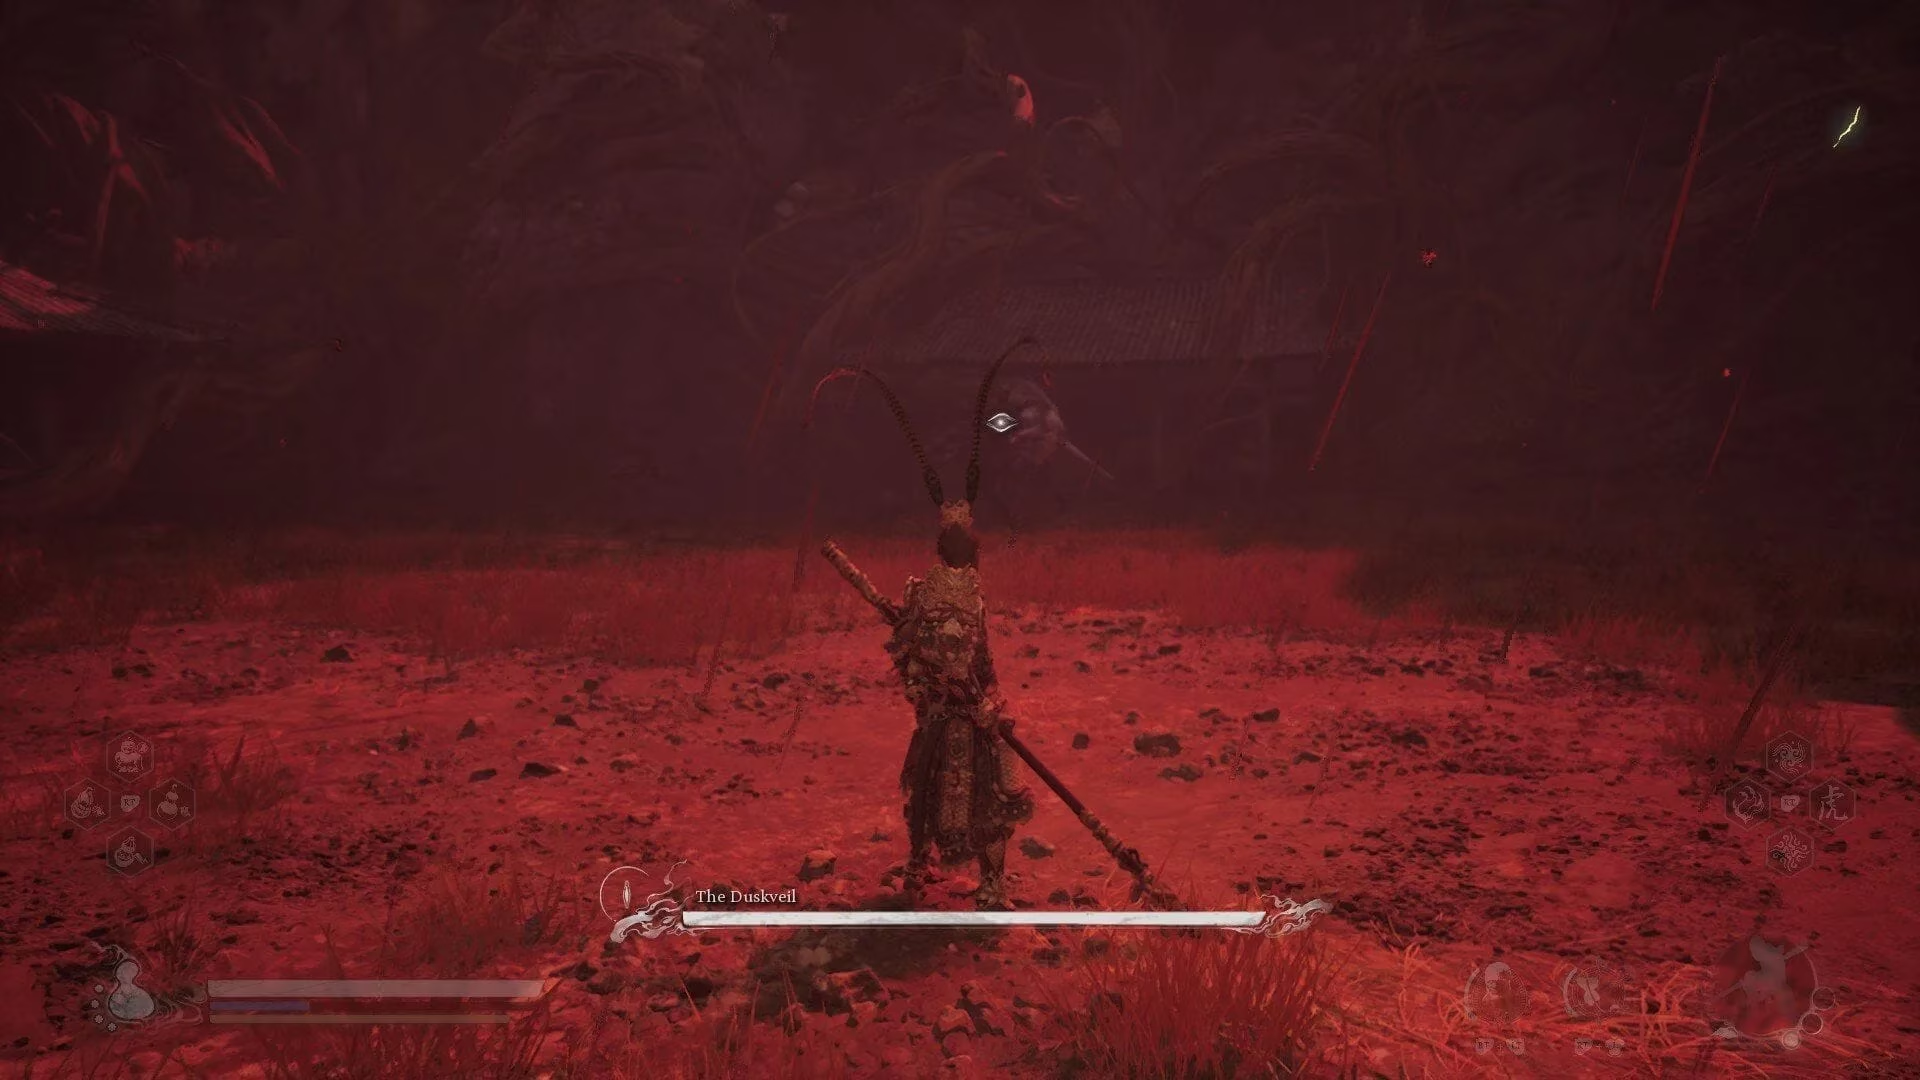
The biggest trick to surviving phase two is staying underneath the Duskveil as much as possible. Most of its attacks target the space in front of it, so the area directly below its body acts like the eye of a storm—calm while everything around it rages. The only time players should run away is when the boss slams its sword into the ground and stands on it. That pose telegraphs a massive AoE blast that deals heavy damage and staggers the Destined One. When that animation starts, create distance immediately.
Red Tides should be used at the start of phase two. By the time the boss reaches the halfway mark of its health bar, the transformation will have recharged, allowing for a second use. This double use of Burn damage can dramatically shorten the fight.
A Shortcut with the Scorpionlord
For players who are really struggling, there is a clever but risky shortcut. If the Scorpionlord boss fight is skipped before the Duskveil, the Scorpionlord will join the battle as an ally. He fights alongside the player during phase one, dealing solid damage and drawing the boss's attention. However, the Scorpionlord only survives until phase two begins—once the Duskveil enters its second form, the ally dies instantly. This strategy makes the first phase almost trivial, but it also means forfeiting the separate Scorpionlord boss fight and any rewards tied to it.
Final Thoughts
The Duskveil is not the hardest boss in Black Myth Wukong, but it is one of the most demanding mid-game fights. Players who rush in without preparation will quickly learn why this hidden encounter has such a reputation. Those who take the time to unlock the right gear, save their resources, and stay glued to the boss's underbelly will find the fight much more manageable. As of 2026, these strategies remain the most reliable way to put the Duskveil down for good—preferably with a few fire trails still smoldering on the arena floor. 🔥